Just plastered your walls and noticed a few dips, no worries! I can help with that!
Watch the video for the main points, read below to get more...
Don't think you're in the right place? This is the final Step in a 6 part course covering re-plastering.
Start at Step 1 - How to Remove Plaster From Brick Walls
Hi there, I'm confident you'll get a lot of benefit from everything on this page. If you feel you have more to add, please let me know by emailing me here.
INTRODUCTION
Do I Need To Check The Plaster Before Painting?
I would recommend it, even if you've had a professional plasterer do it. The reason being, is that it's far easier to fix wobbly plaster before painting, than it is afterwards, it gets better results too! Once painted, the dips and bumps will be more pronounced, so it's worth a check before painting, just in case.
How do I Check for Wobbly Plaster?
Grab yourself a torch, or a lamp, and hold it against the wall, so that it shines along the wall's surface. This will cast a shadow over lumps, or within dips in the plaster, and will make them stand out.
My Plaster's a Mess, What Can I Do?
First things first, don't worry, anything can be fixed here. The first walls I'd plastered I had to:
- Removing Lumps & Bumps
- Gaps Around Edges
- The Window Recess Corners Have Dried lumps on Them
- Dips Where My Trowel Has Been Pushed In Too Far
- Fixing An Entire Wall That's Got Loads Of Dips & Bumps
- and I learned What Not to Do Before Painting
I'll discuss how to sort all these below.
TOOLS FOR THE JOB
What tools will I need?
Not a great deal required here to be honest:
- 60-80 grit sandpaper (fairly rough)
- 100-120 grit sandpaper (fairly smooth)
- Some plaster and plastering tools, if you need to fill some holes. If you're unsure how to plaster, check out my previous blog post here.
- a scraper (you always need a scraper!)
Right then, let's tackle the problems one by one.
REMOVING LUMPS AND BUMPS
Easy really, just sand them off.
Try not to be tempted to use a scraper to chip off the big bits, as almost always you'll chip off more plaster than you wanted.
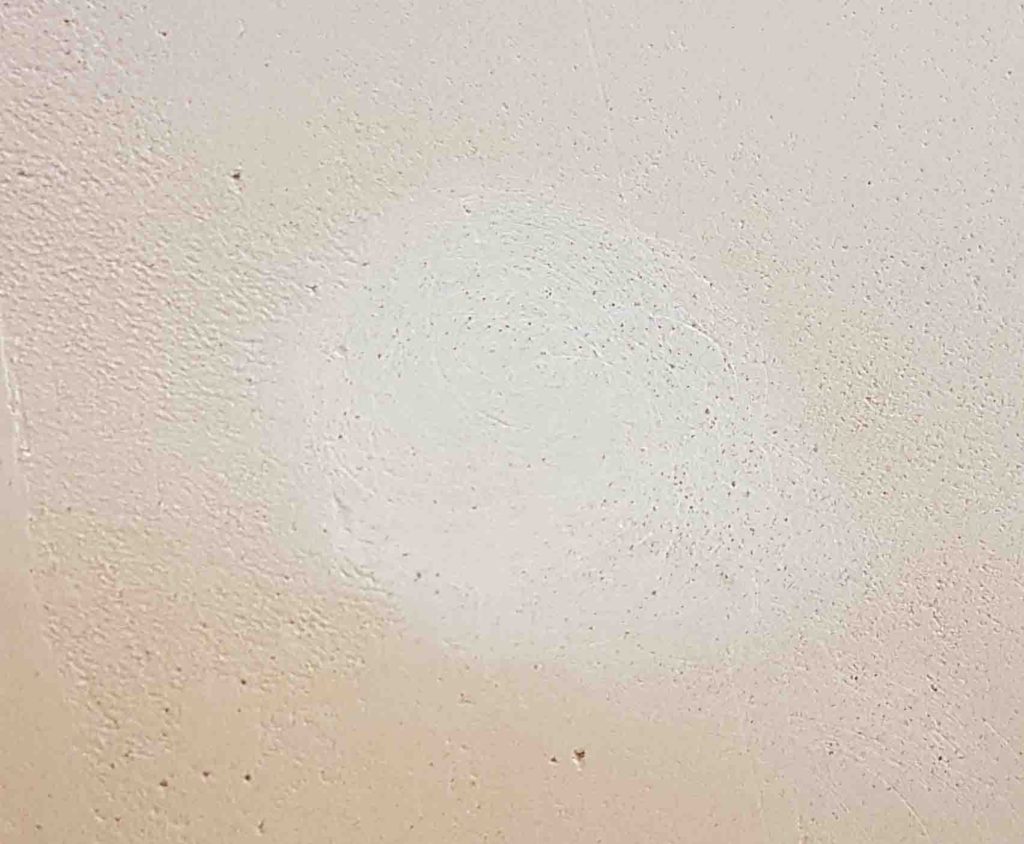
Start with a 60 grit (rough sandpaper) to get most of it off, then finish it off with the 100 or 120 Grit sandpaper. Here's a picture of a bump that I sanded off:

GAPS AROUND EDGES
You may find that there are some gaps along the join between architrave and the plaster, this is fine. You'll need to fill the gap with plaster, in two layers, not in one go.
Before filling the gap, mix 1 part PVA with 5 parts water and apply to the edges of the old plaster with a soft painting brush. Allow this to go tacky (nearly set but still sticky, about 20 minutes), then fill the gap with plaster right away, smoothing off to line in with the old plaster.
The reason for dong this is because the old plaster will draw a lot of moisture out the new plaster (the stuff you use to fill the gaps), and will dry it out too quick. The PVA will slow this down.
Then, keep an eye on it as it may crack as it dries. If it does, brush on some water (no PVA) using a paint brush to the new plaster until the crack has blended with the rest of the plaster. You'll need to keep an eye on it every 10 minutes or so for an hour.
THE WINDOW RECESS CORNERS HAVE DRIED LUMPS ON THEM
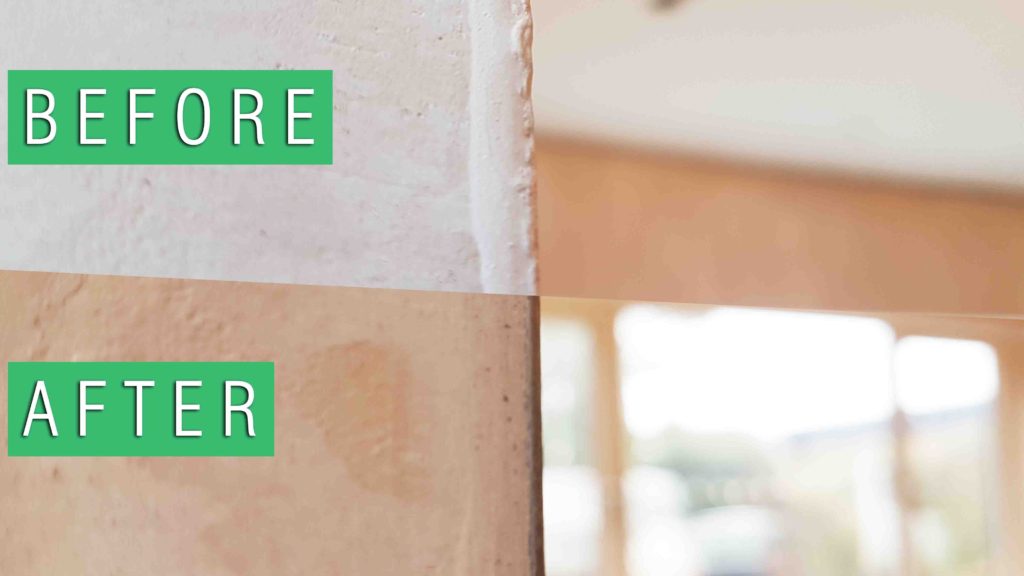
This is normal and there should be the metal anglebead under those lumps. Grab your course sandpaper and sand off the lumps down to the metal, don't leave any plaster on.
When it comes to painting, the paint will bind to the metal anglebead, so no worries there.

DIPS IN THE PLASTER
With small dips in the plaster, where it looks like the trowel has scraped a bit too much off, I found that it was best to smooth out the ridges so that the dip remained, rather than filling it.
This method doesn't remove the dip, it just blends it in better with the wall. I was doubtful at first but since painting it, it's completely unnoticeable.

FIXING AN ENTIRE WALLS THAT'S GOT LOADS OF DIPS & BUMPS
I had this with my first few walls. I found there was little point in fixing all the bad bits of plaster one by one. Instead, I opted for doing the lot in one go. I used a vibrating sander and started off with 60 grit sandpaper. then finished on a 120 grit. It took a couple of hours to do the three walls, but I'm glad I did it.
This method creates a lot of dust by the way, so be sure to tape up your doors and open your windows. I go into detail on dust prevention here, when I talked about removing plaster from brick walls.
Helpful Tip
Good sandpaper isn't cheap. Just because the sand paper is choked with plaster, doesn't mean it's done with. Use a vacuum cleaner with a brush attachment to remove the plaster from the sandpaper. Then, you're good to go!
WHAT NOT TO DO BEFORE PAINTING
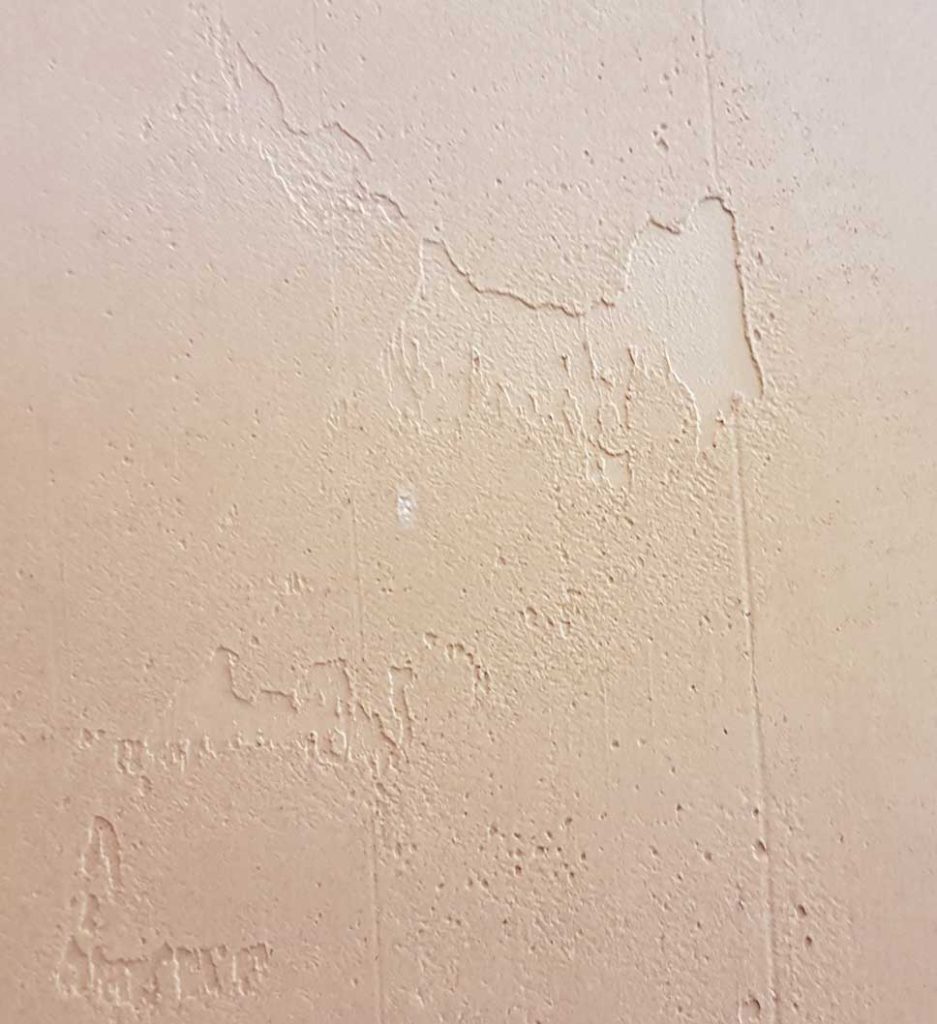
Finally, don't PVA your walls before painting. I'll cover painting onto new plaster in a separate blog post but just in case you were about to lash on the PVA, I wanted to say now not to do it.
If your new plaster is in a place that will likely get touched or rubbed, before being painted, such as around a light switch or in a hallway. I suggest hanging a clean, plastic disposable dust sheet in front of the wall. This will protect the plaster from dirt and grease, which can be a pain when it comes to painting. Hang it from the ceiling, creating a gap of several inches between the sheet and the plaster, this'll allow the plaster to dry out nicely.
And finally, get the hoover out and clean up, sorted! Now, send me a picture of you're beautifully prepared wall.
This is Step 6 of my 6 part course on re plastering a wall, the next How-to will bring me away from the plastering course (for now) and onto painting over fresh plaster, and goes into detail on ways to ensure the paint adheres to the plaster, how many coats etc. The previous post was all about Skim Coating a plasterboard wall.
So, if you're eager to get painting the plaster, don't worry, I've got it covered in the next How-to.
Thanks for taking the time to read through this page, I appreciate it. If you have a comment or would like to get in touch, fill out the email form below and hit subscribe, I look forward to hearing from you.